Inbox Spam Filter Setup Guide
Inbox Spam Filter connects to your HubSpot Shared Inbox and uses AI to score incoming messages, flag spam, and optionally mark matching contacts with the spam_filter_status property. Use this guide before and after installing so you know the full journey: install, configure, use, disconnect, and uninstall.
Inbox Spam Filter is a HubSpot technology partner and is available on the HubSpot Marketplace.
What the app does
After you connect a HubSpot account, Inbox Spam Filter:
- Reads new Shared Inbox conversation emails to score them for spam
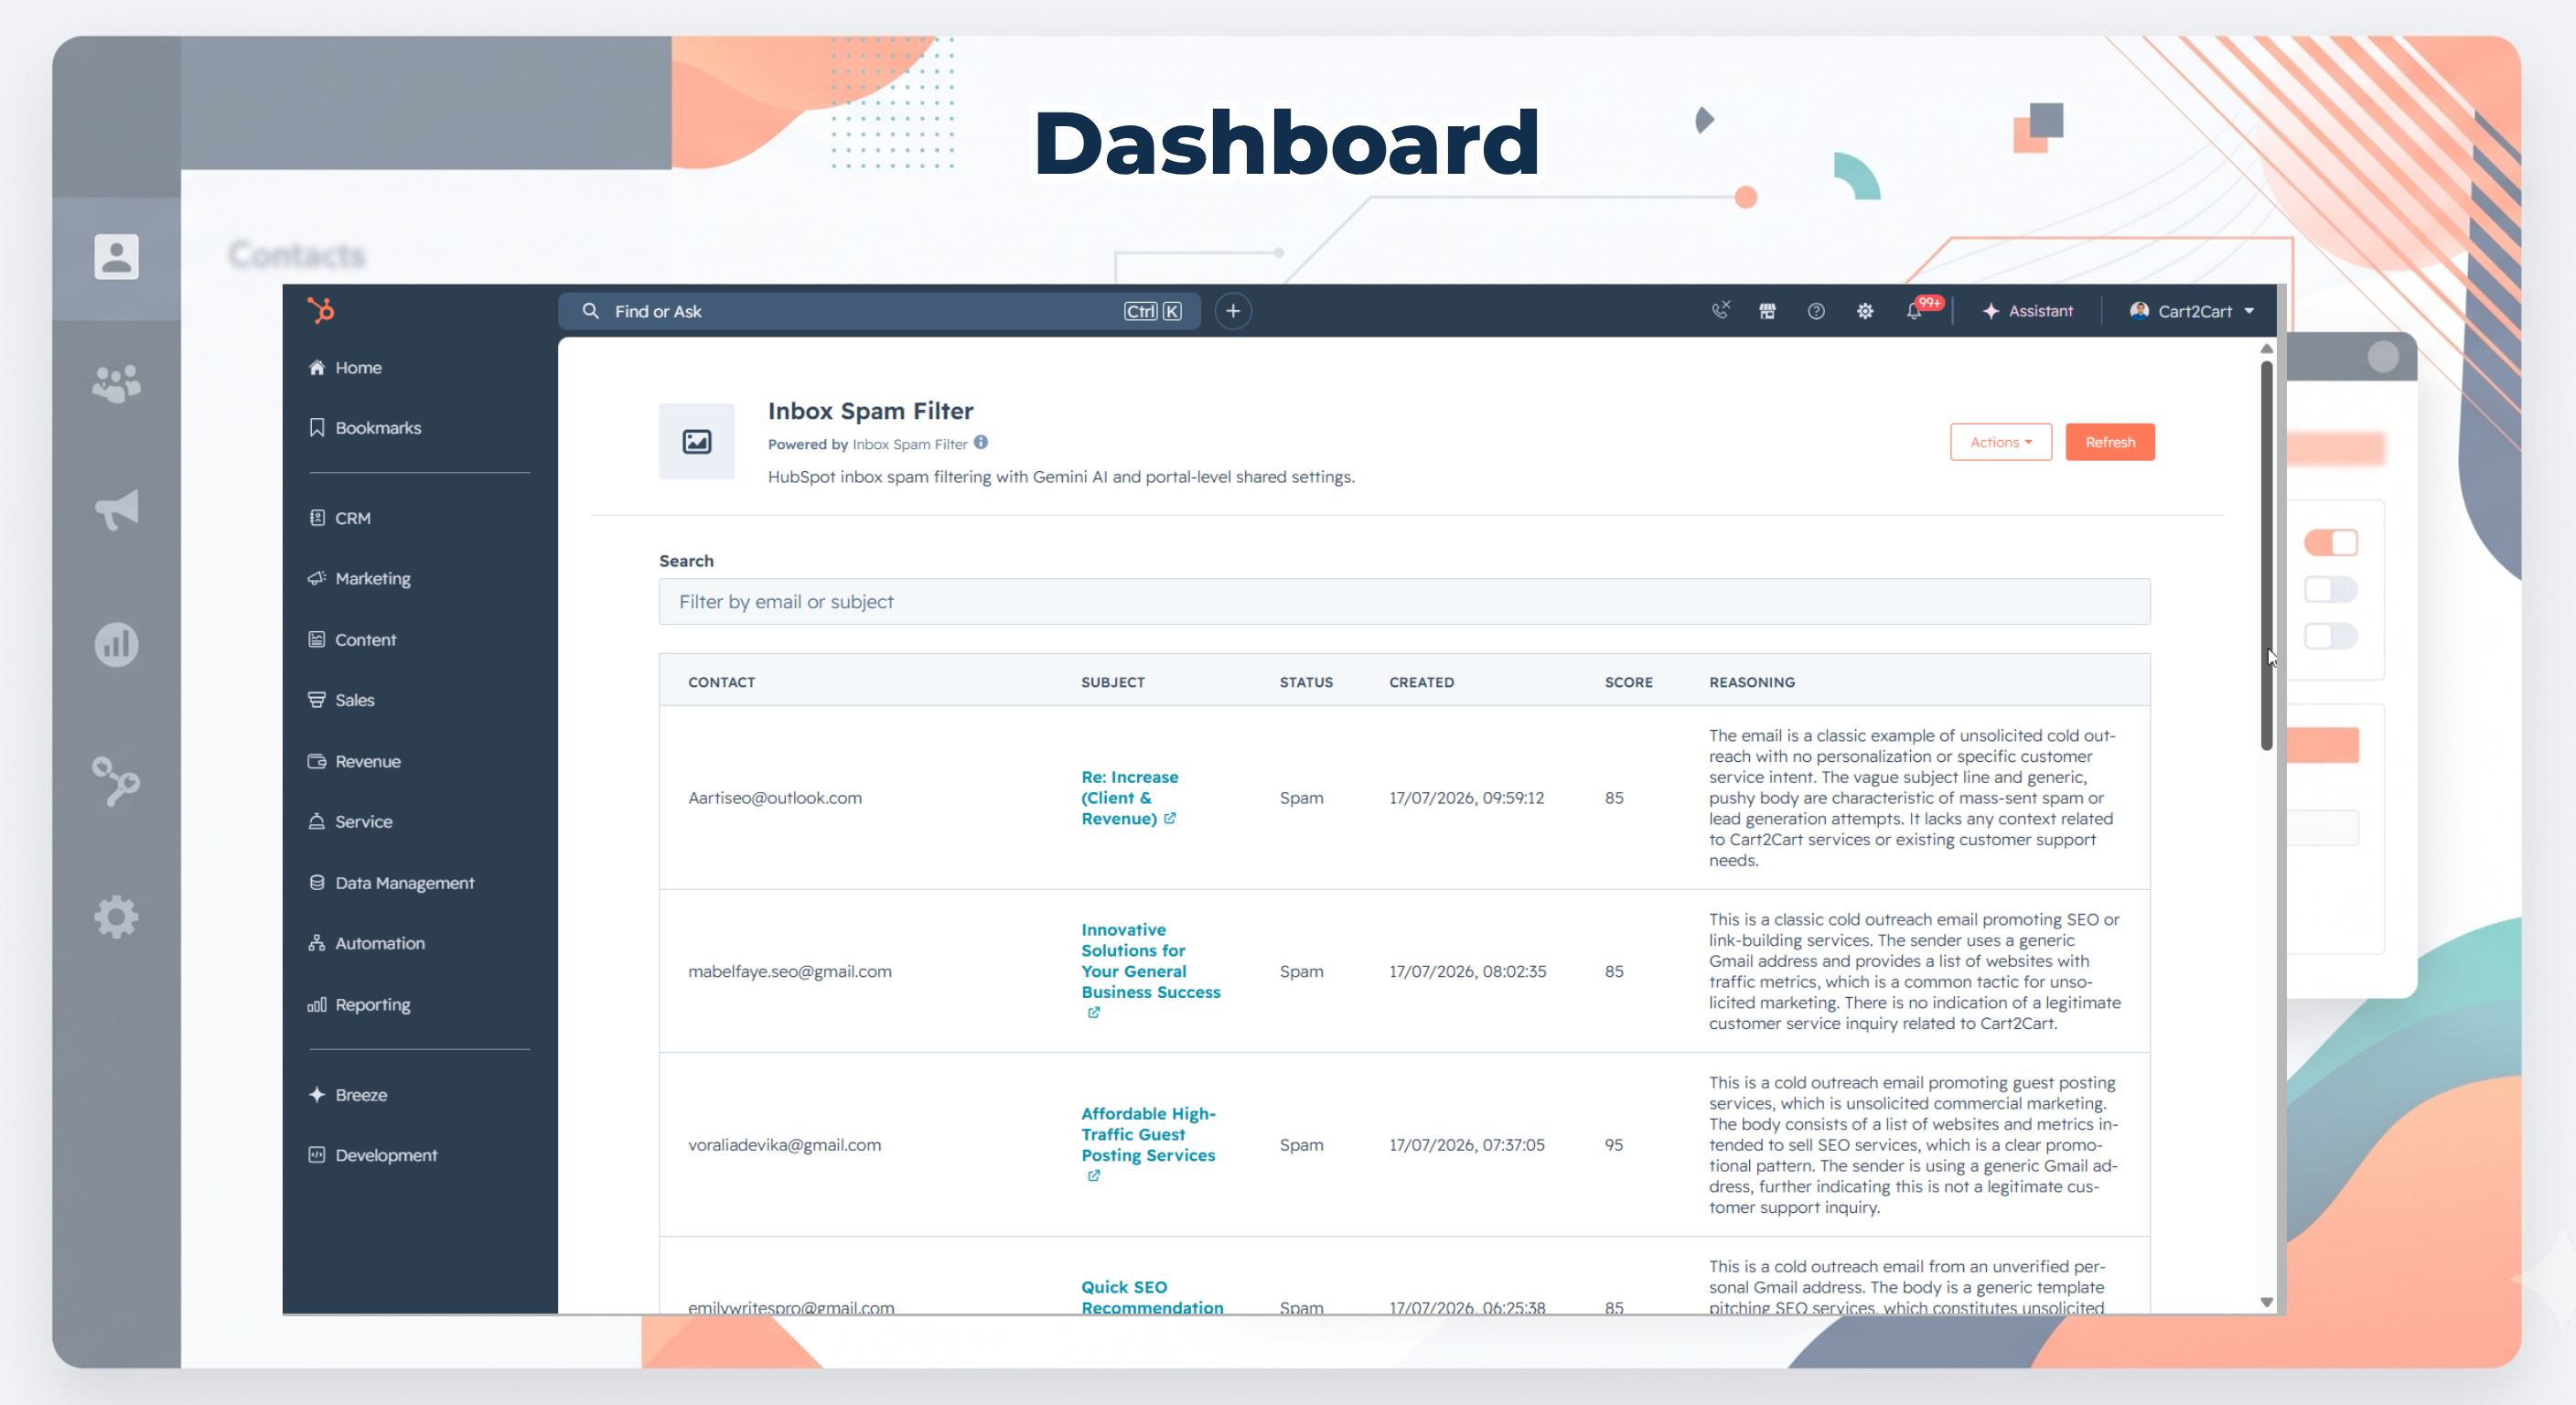
- Shows scores and AI reasoning on the Overview dashboard
- Can write contact properties (for example
spam_filter_status) when spam tagging is enabled - May send message text used for scoring to Google Gemini for evaluation (see the Privacy Policy)
Shared data with HubSpot (matching the Marketplace listing): Conversations (emails), Contacts, and Contact Properties. Sync is one-way into HubSpot for property updates; conversation content is read for scoring.
What you need
- A HubSpot account with permission to install connected apps
- Access to the shared inboxes you want to monitor
Install the app
1. Start the install
Open Inbox Spam Filter from the HubSpot Marketplace (or your install link) and click Install / Connect app. The HubSpot login and account picker open in a new window so you can keep this guide open.
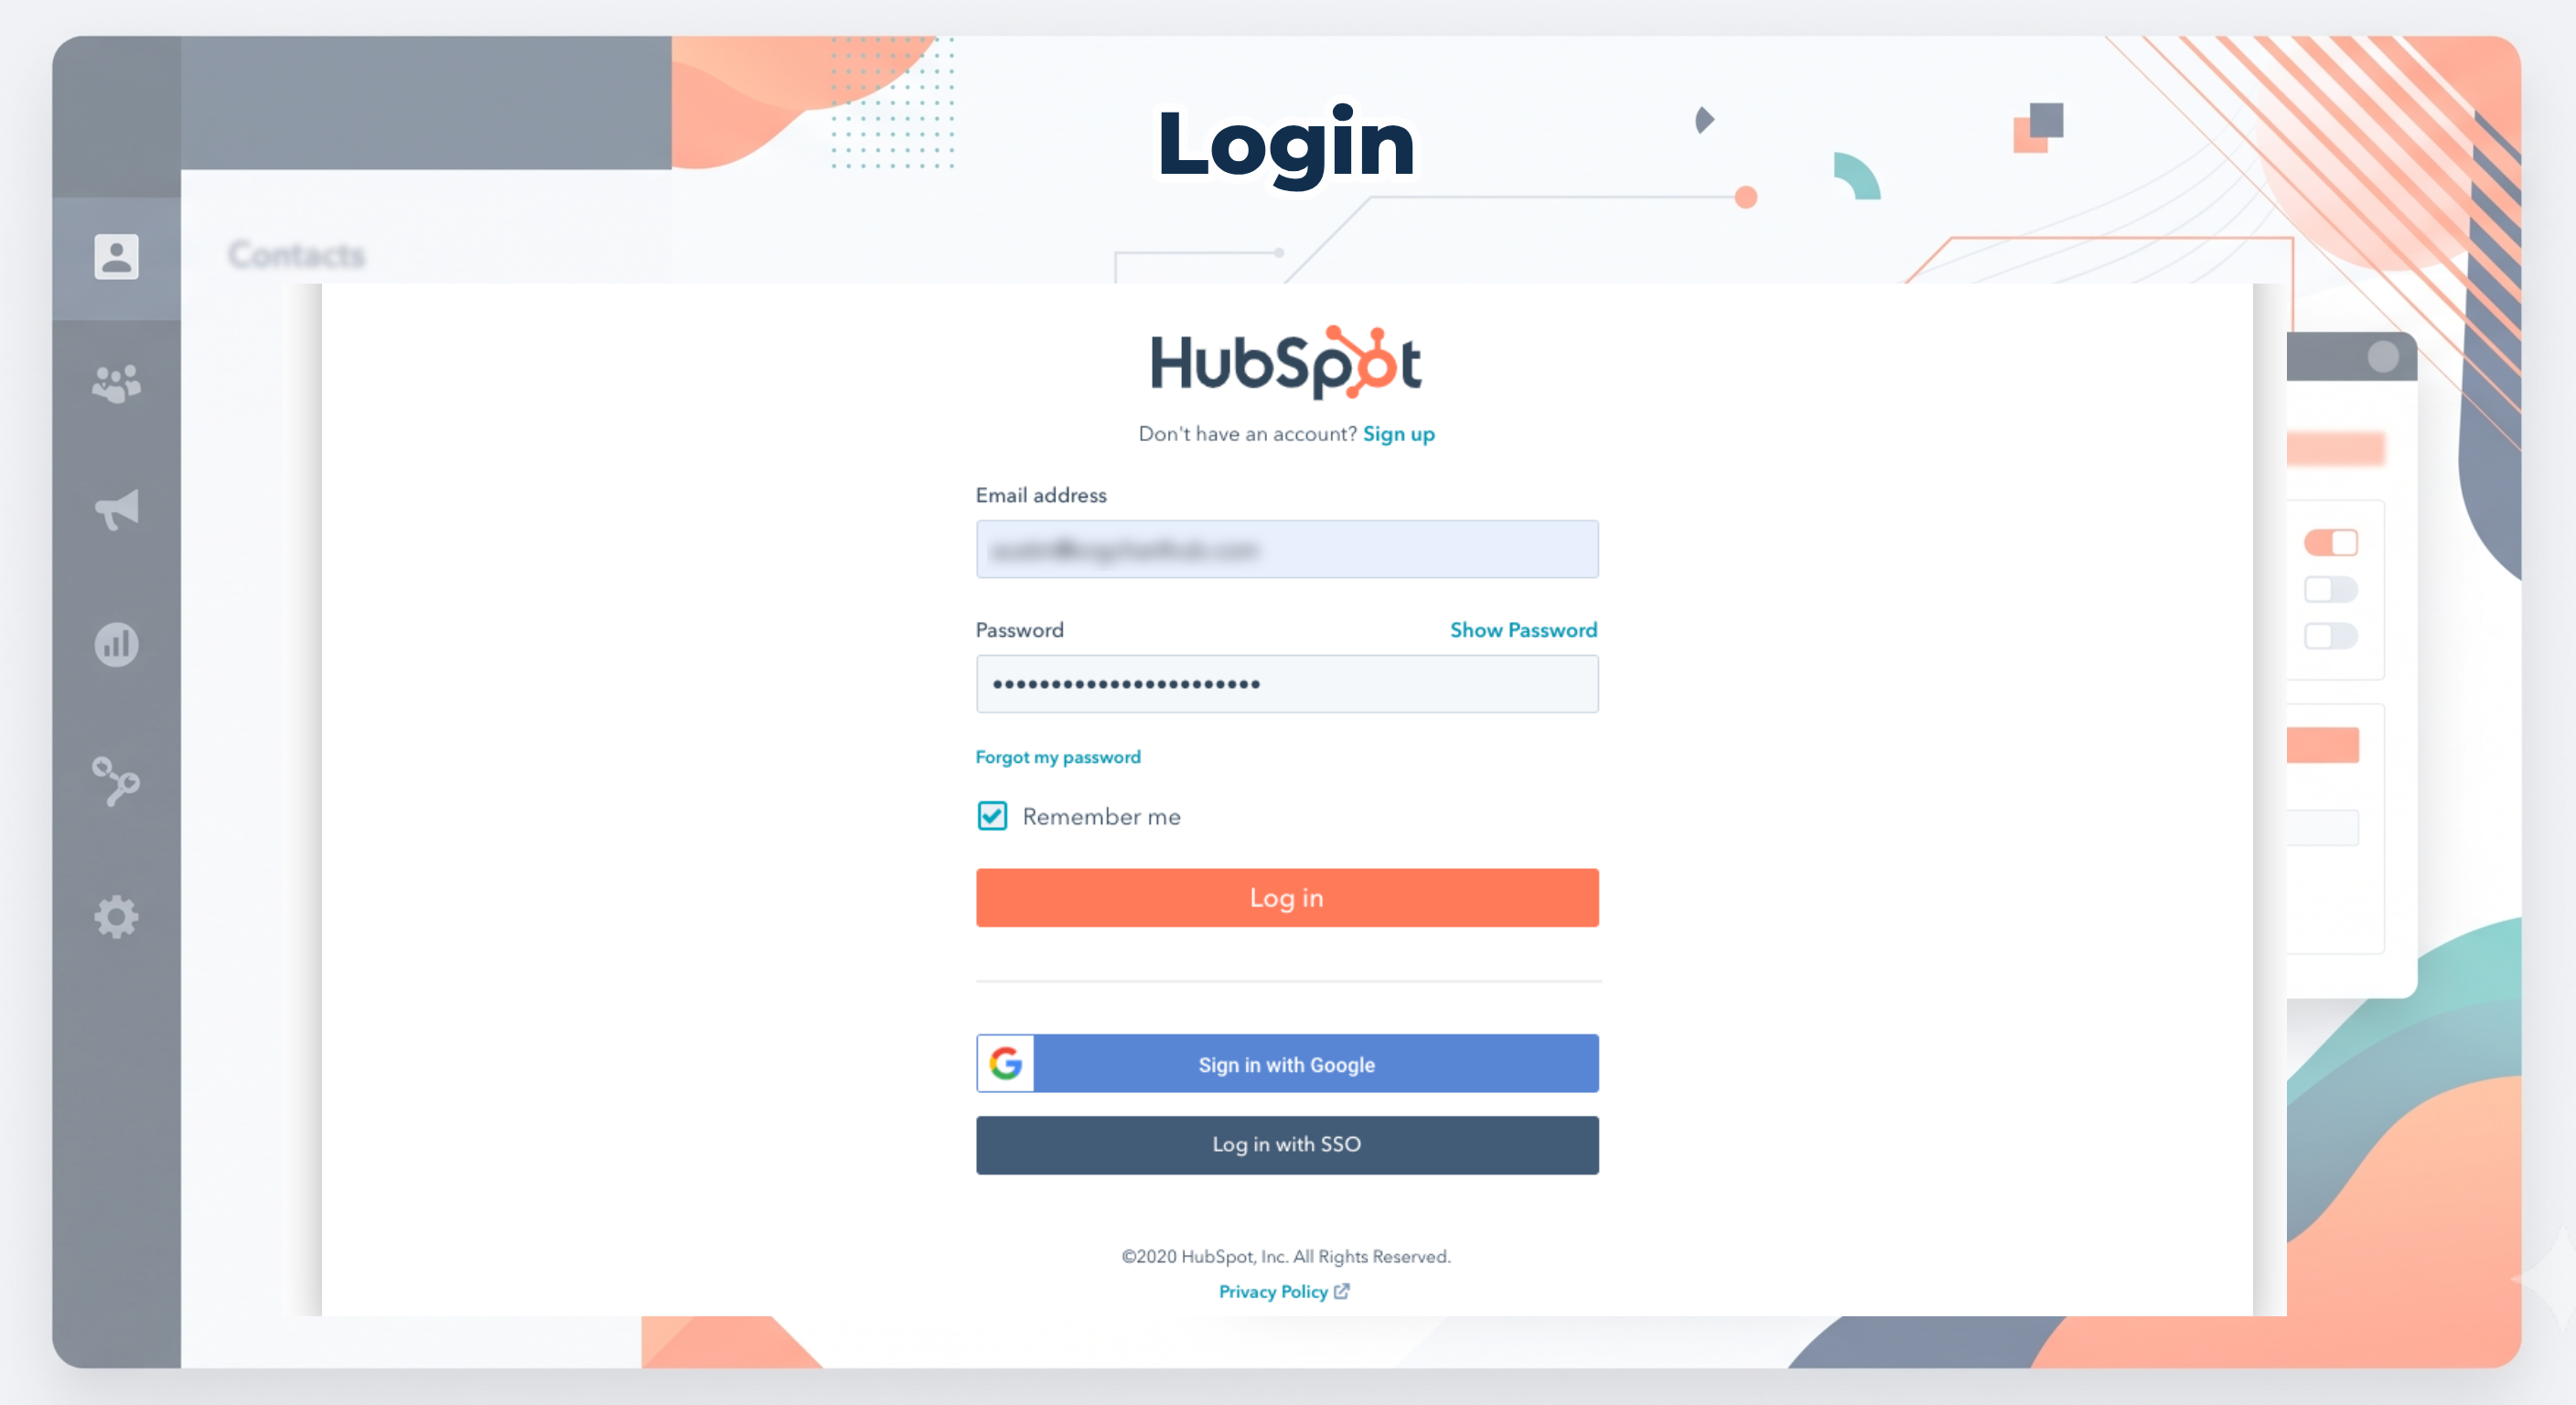
2. Log in to HubSpot
Sign in with your usual HubSpot credentials. There is no separate Inbox Spam Filter login.
3. Select your HubSpot account
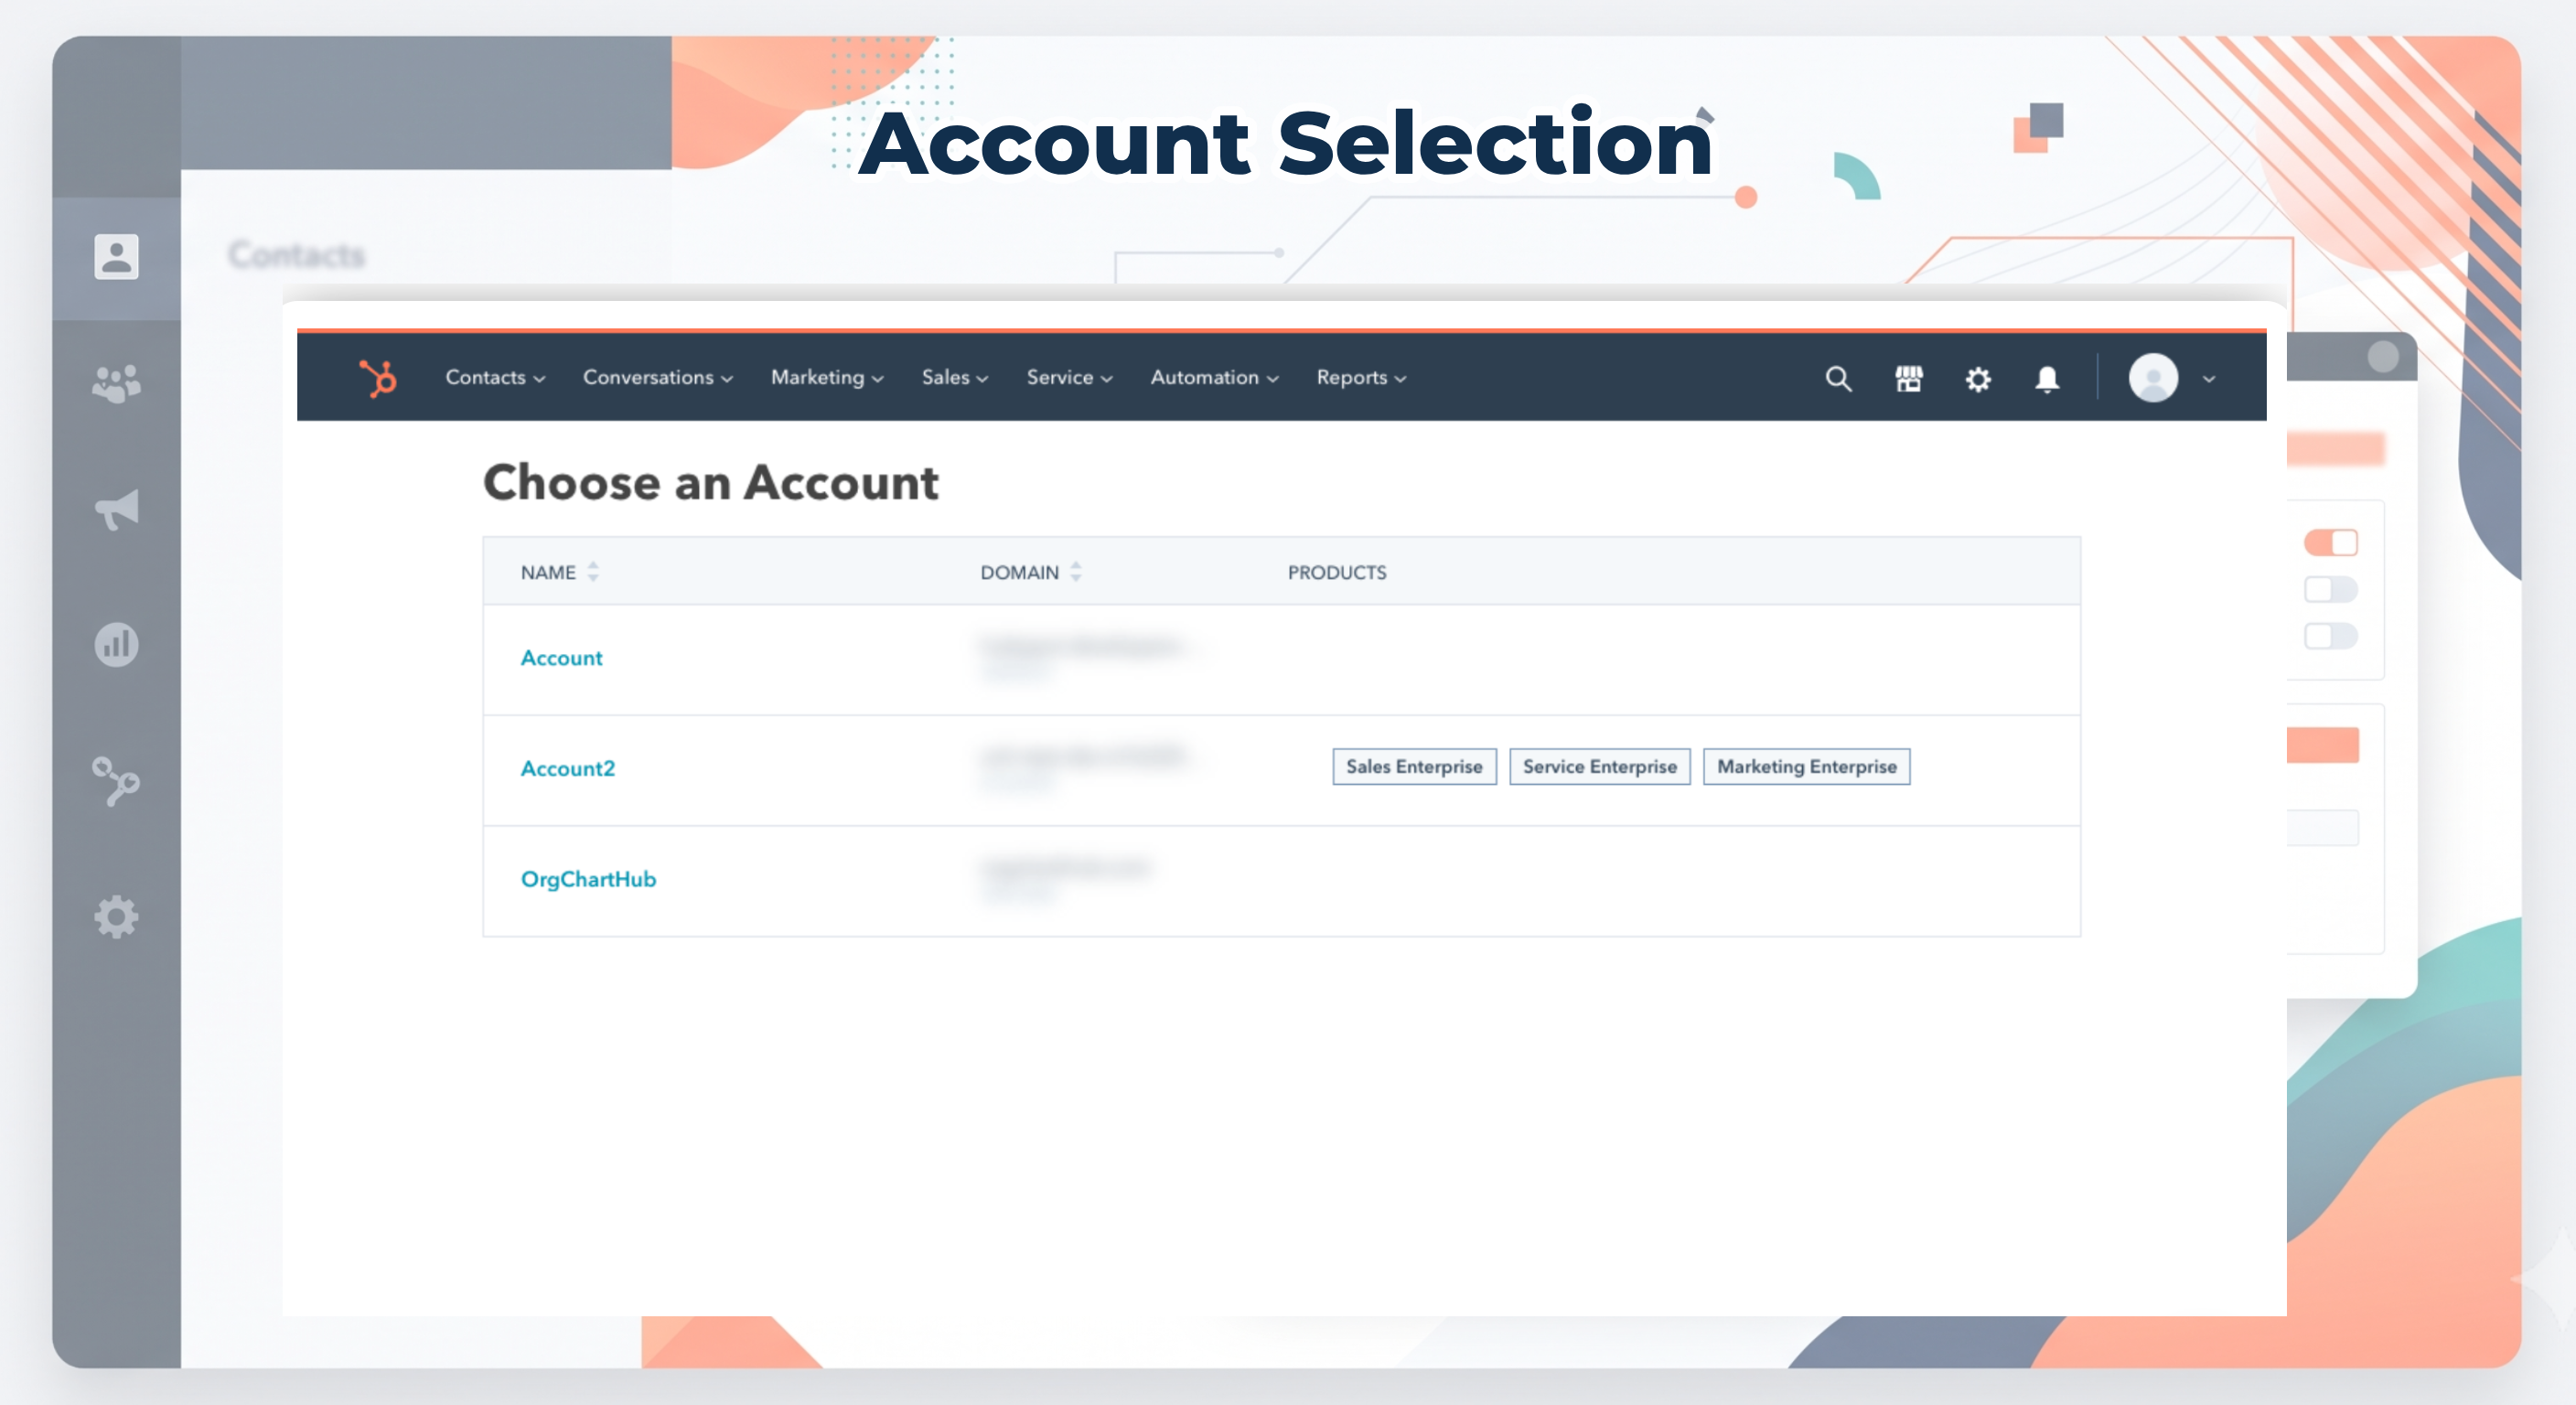
If you belong to more than one HubSpot account, choose the portal where shared inboxes should be filtered. Single-account users usually skip this step.
4. Confirm permissions (OAuth scopes)
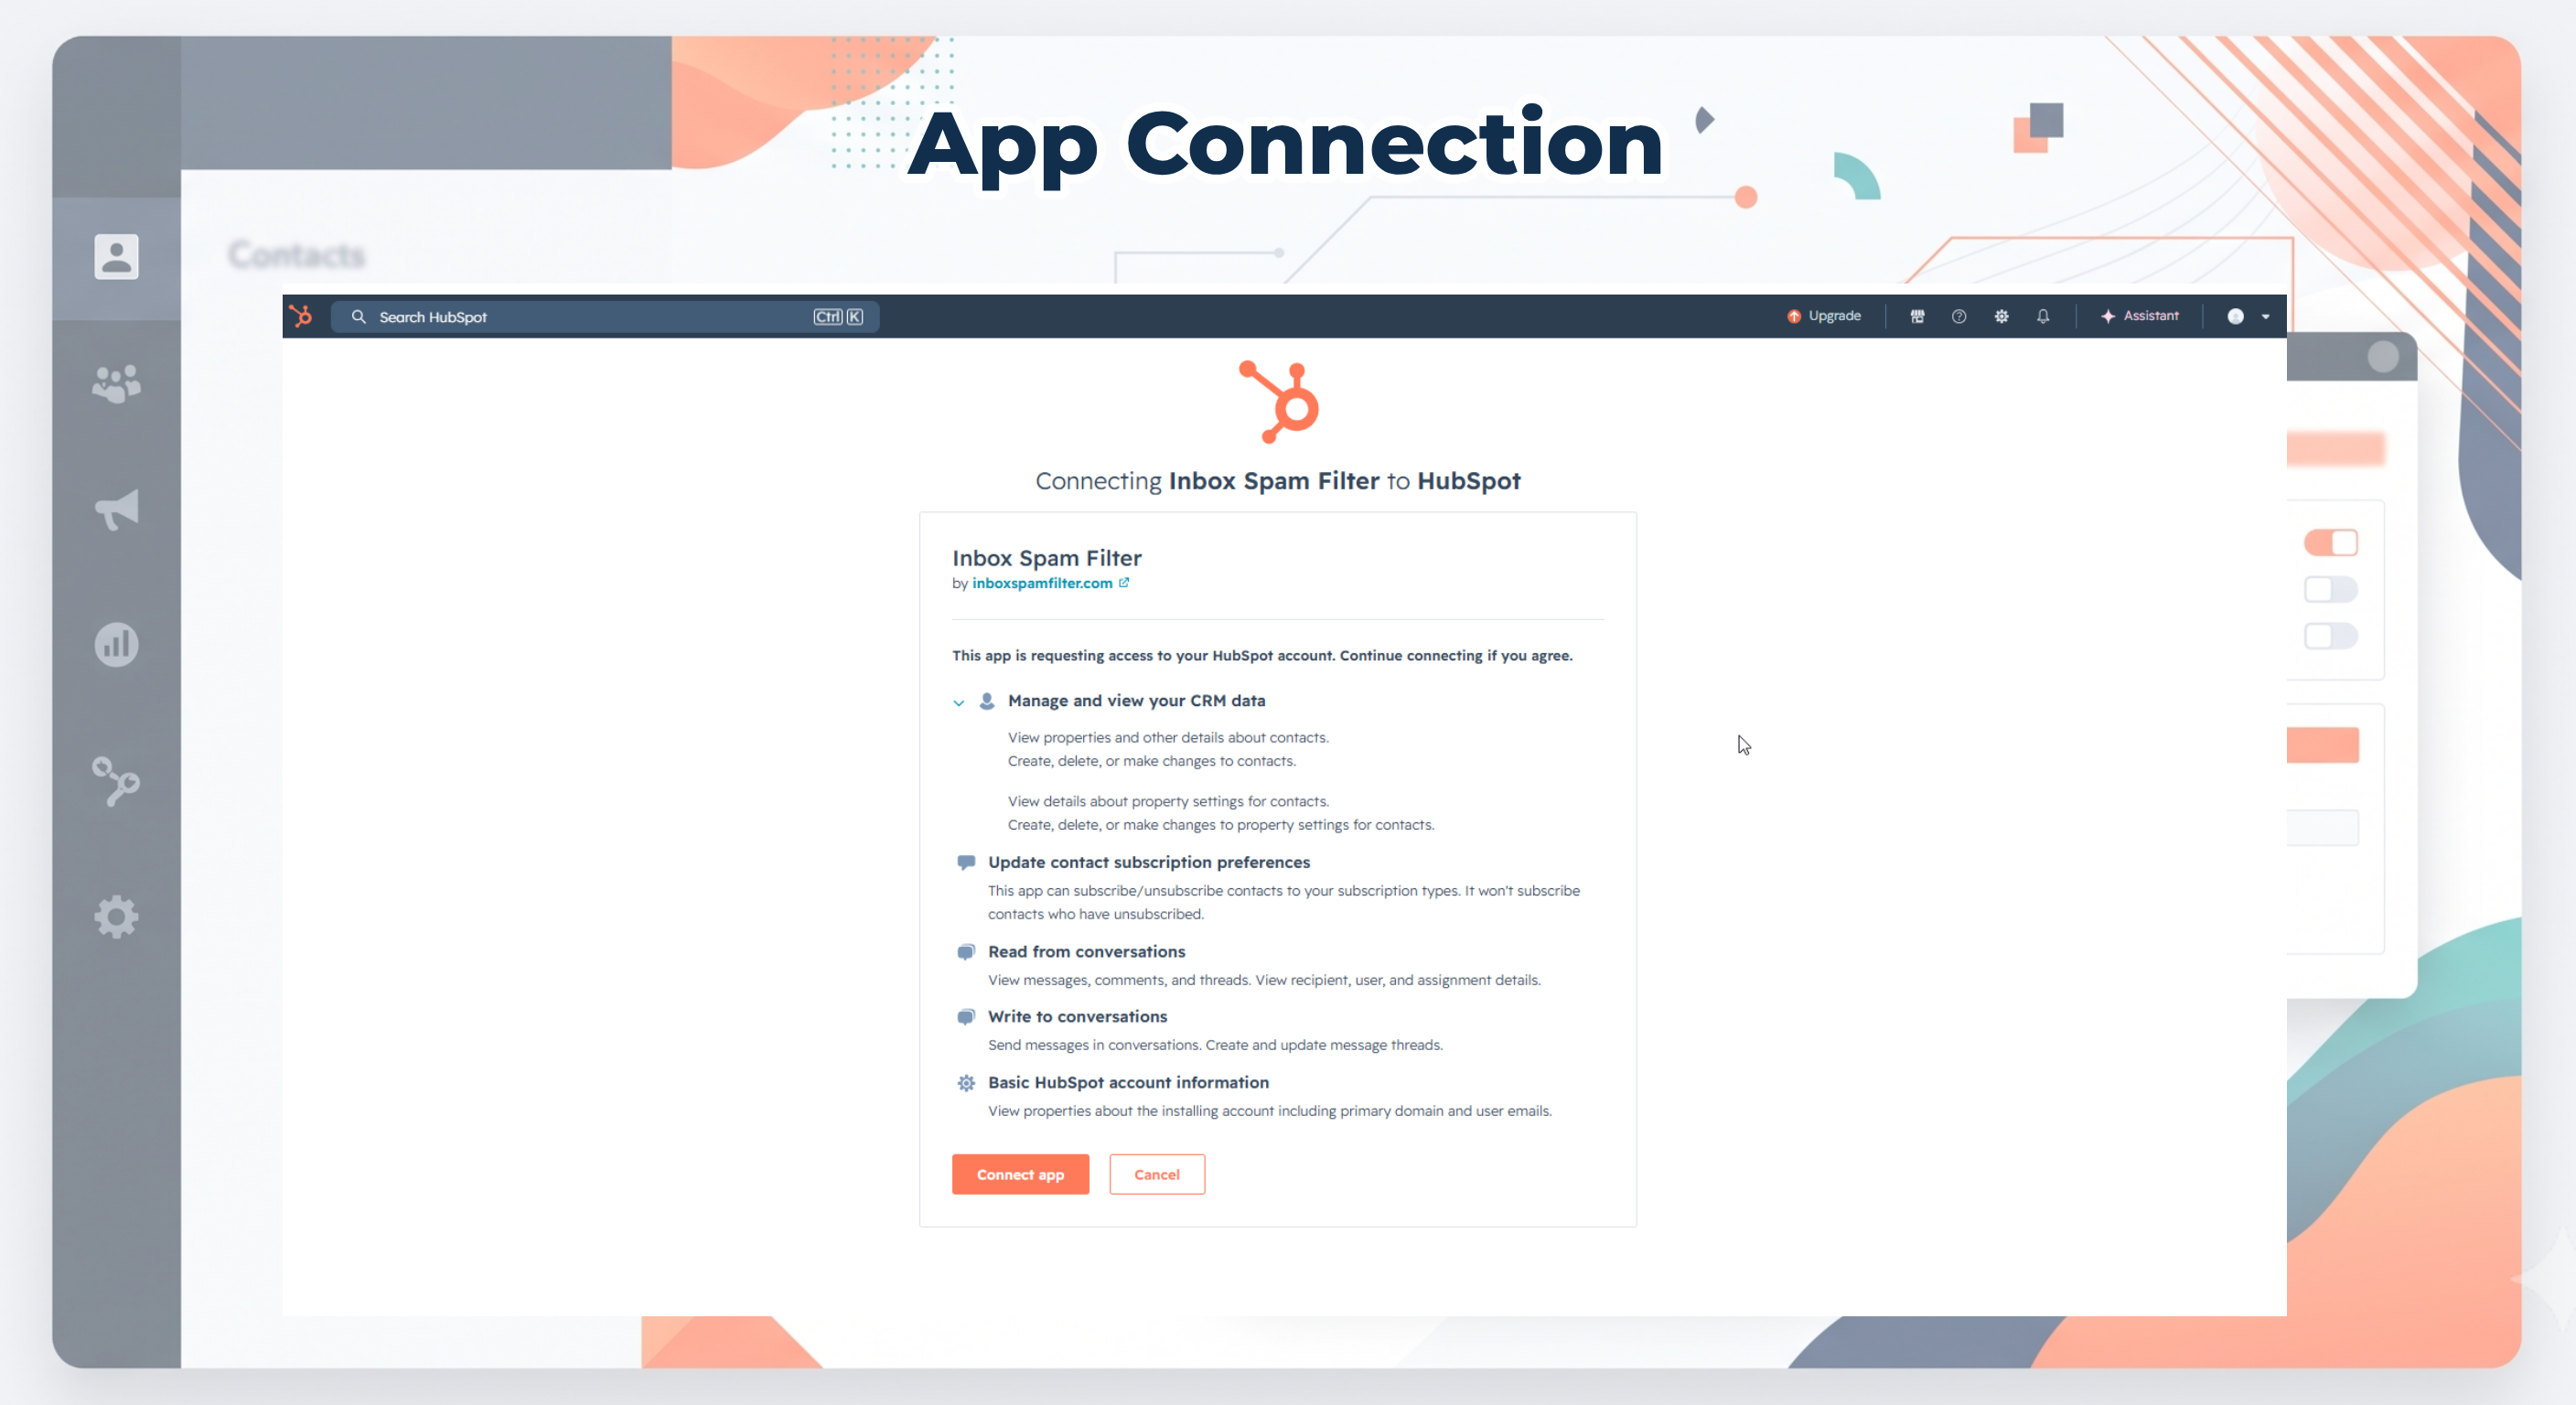
Review the permissions Inbox Spam Filter requests. The app needs access to read Shared Inbox conversation data and to read and update contacts so it can set spam_filter_status when spam is detected. Click Connect app to approve.
After approval you are returned to HubSpot with Inbox Spam Filter listed under Settings → Integrations → Connected Apps.
Configure the app
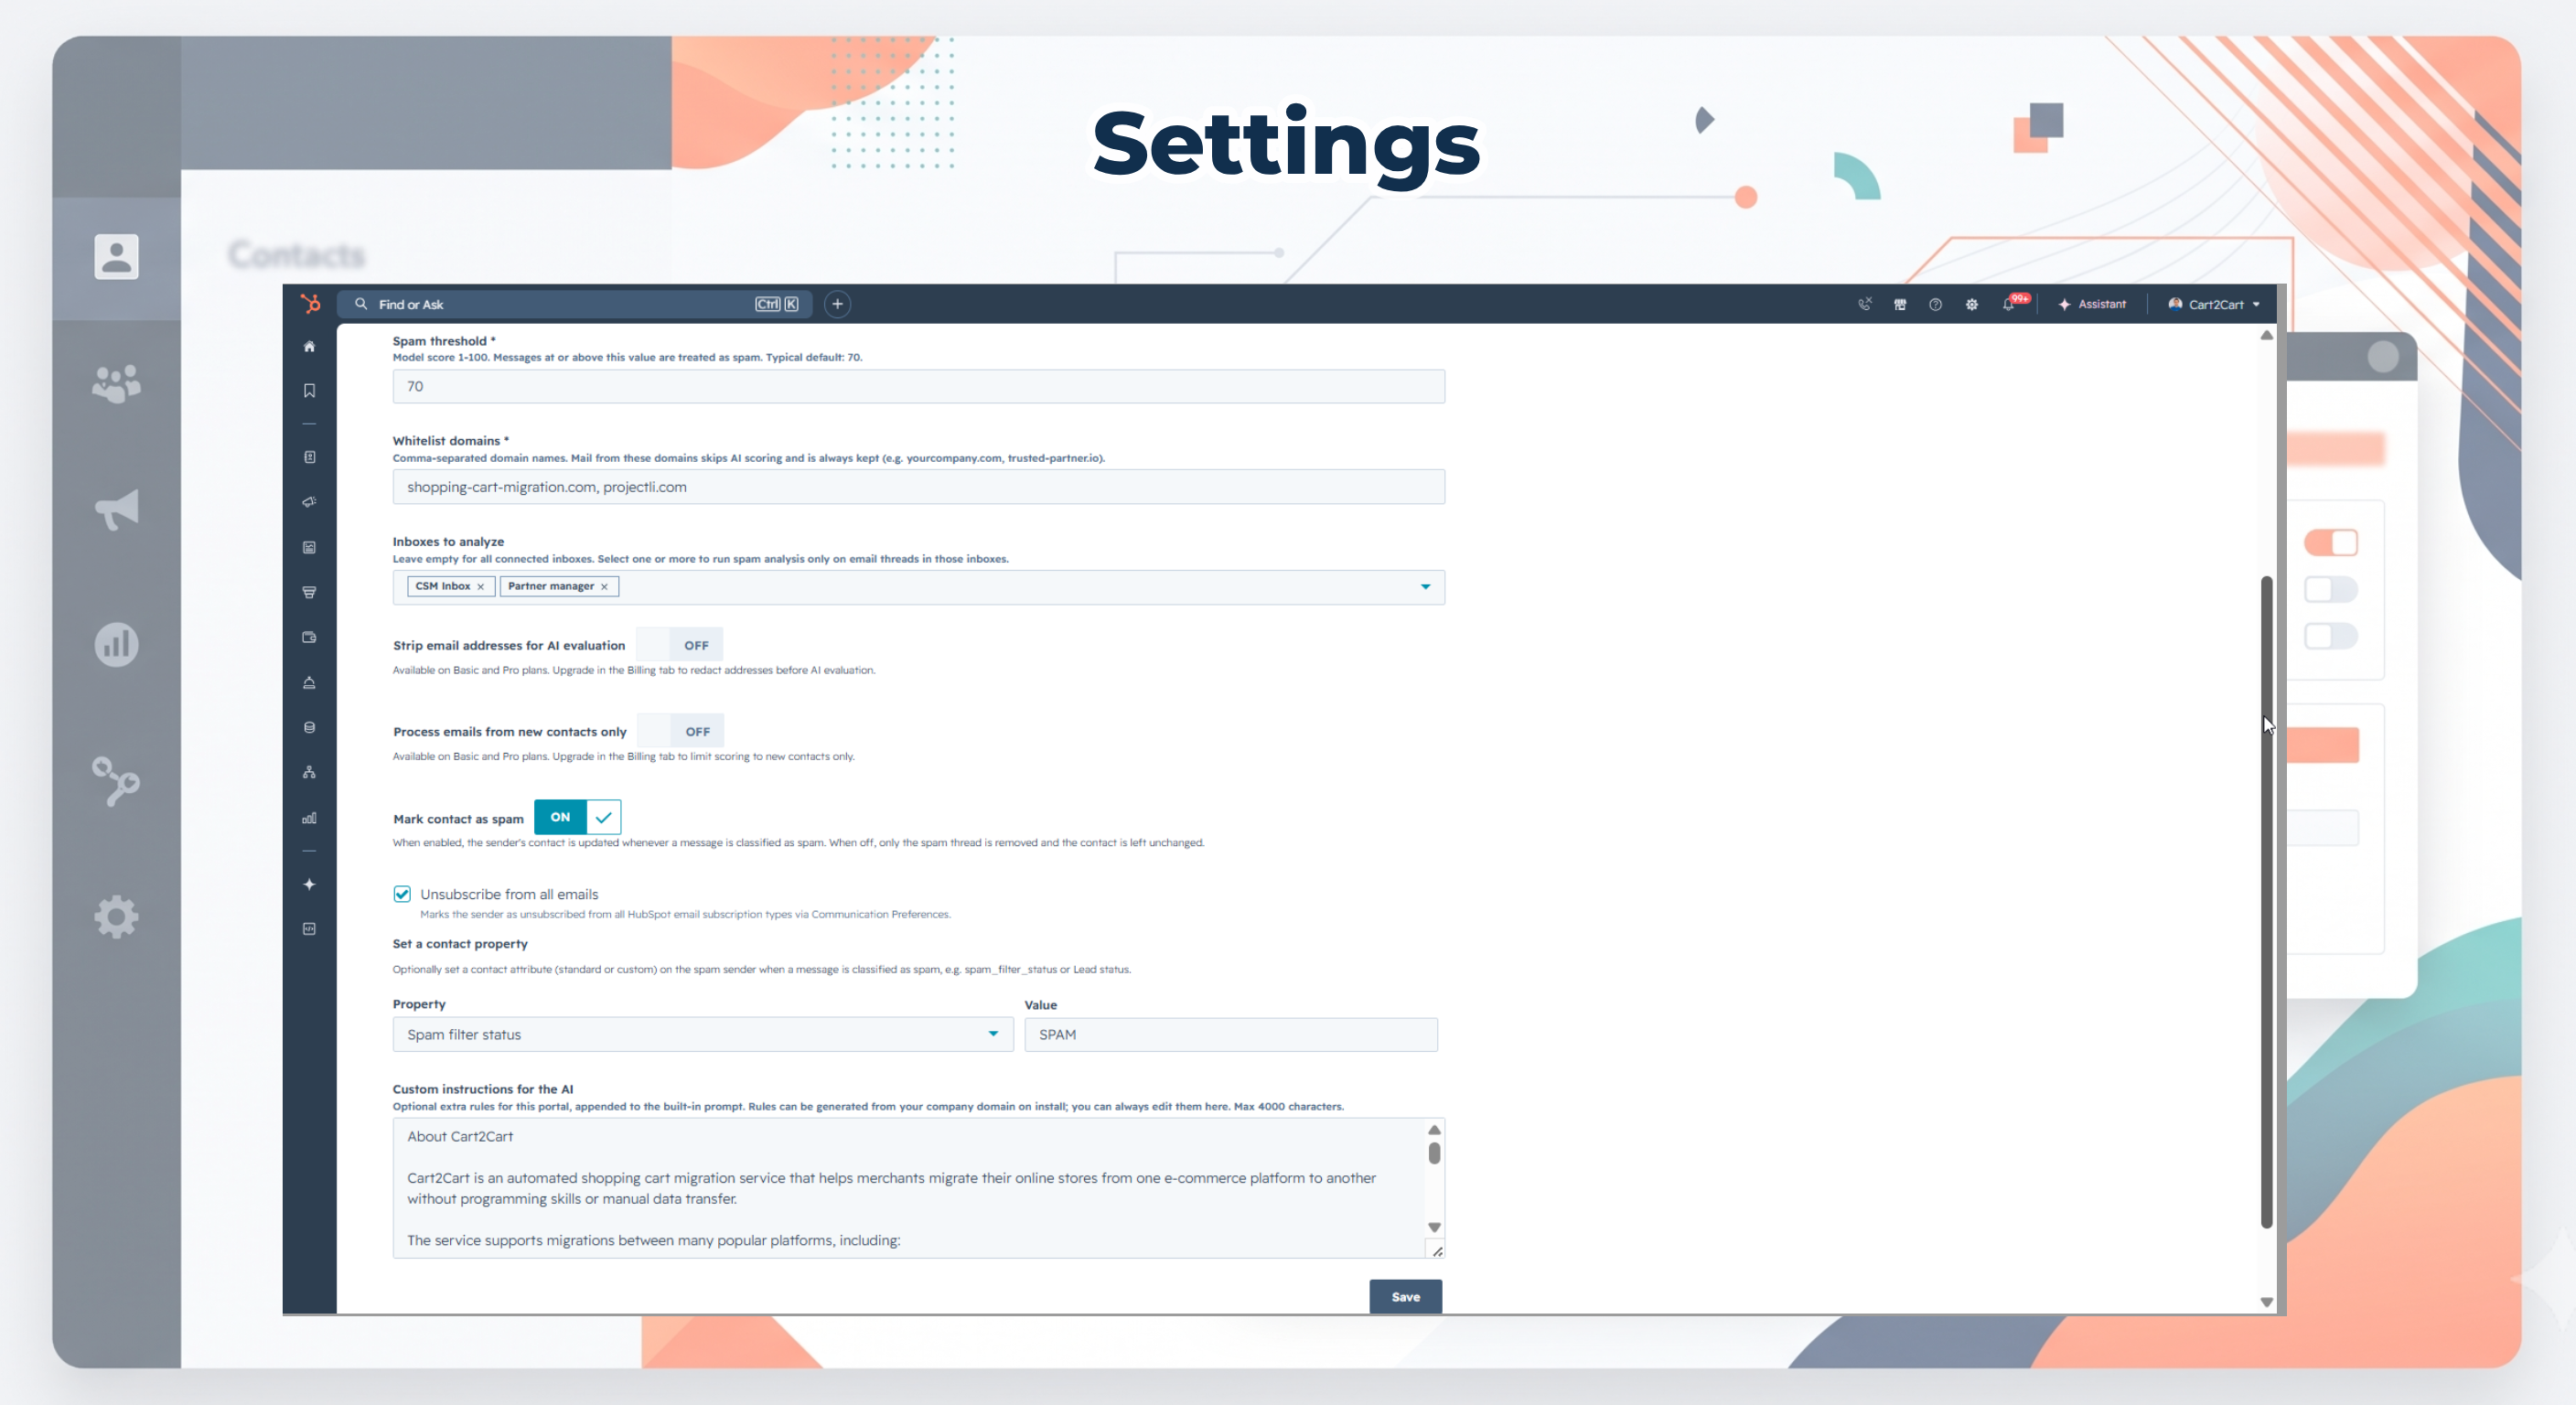
Open Connected Apps, select Inbox Spam Filter, then go to Settings → Scoring.
- Set the Spam threshold (1–100, default 70). Messages at or above this score are treated as spam.
- Optionally add Whitelist domains that should always skip AI scoring.
- Choose Inboxes to analyze, or leave empty to monitor all connected shared inboxes.
- Set Mark contact as spam (recommended: Custom property
spam_filter_status). - On Basic or Pro, enable Strip email addresses for AI evaluation if you want addresses removed from From, subject, and body before Gemini scoring (HubSpot records stay unchanged).
- On Basic or Pro, add Custom instructions for the AI if you need business-specific rules.
- Click Save.
Optional next steps:
Use the app
Automated: After install and save, Inbox Spam Filter scores new messages in the selected shared inboxes. When a message meets your threshold, it appears on the Overview dashboard and contacts can be marked via spam_filter_status if that option is enabled.
Manual: Open the app → Overview to review flagged messages, scores, and AI reasoning. Search and refresh as needed.
See also: Review filtered spam on the dashboard and Understanding scores and reasoning.
Disconnect the app
What happens to your data: Disconnecting stops Inbox Spam Filter from analyzing new inbox messages and from updating contact properties. Existing HubSpot contacts, conversation history, and any spam_filter_status values already written remain in your portal unless you change or clear them yourself. Historical rows in the Inbox Spam Filter dashboard may become unavailable after disconnect.
- In HubSpot, go to Settings → Integrations → Connected Apps.
- Select Inbox Spam Filter.
- Choose to disconnect the app, then confirm.
For a focused walkthrough, see Disconnect or uninstall Inbox Spam Filter.
Uninstall the app
To uninstall Inbox Spam Filter from HubSpot, follow HubSpot’s guide: Connect and manage apps in HubSpot (Connected Apps → uninstall).
- Uninstalling removes the connected app from the portal.
- It does not delete your HubSpot CRM records or shared-inbox messages.
- Property values such as
spam_filter_statusthat were already written stay on contacts until you edit or clear them. - Historical rows in the Inbox Spam Filter dashboard may no longer be available after uninstall.
- If you had a paid plan, cancel or adjust billing in the app’s Billing tab before uninstall, or contact us.
You can reinstall later from the Marketplace and go through this setup guide again.
 Install on HubSpot